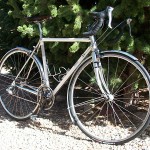
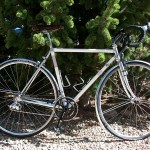
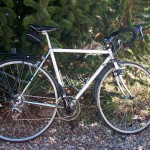
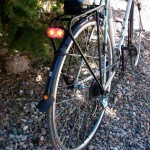
In one of my last architecture class, “Professional Practice” I think, we were given a rule of thumb for estimating the time needed to complete a task; multiple the time you think it will take by three. If you are installing full fenders on a road bike that was not designed for fenders double that (six times your first guess) and you should be close. For starters, allow at least one day for the job.
Why did I want full fenders? To tell the truth I asked myself that a number of times while trying to get these set up.
The SKS Race Blades I’ve used thus far are pretty good. They take about 15 minutes to install the first time, about 1 minute after that. They pretty much eliminate the stripe down my back. They reduce the amount of water in my shoes and road spray on my water bottles during rain and when riding on wet roads or through puddles. Basically the Race Blades helped enough to make me realize how great real fenders could be. I wanted fenders that would eliminate water from coming off my tire and dumping in my shoes and significantly reduce road spray for people riding behind me. The question is will the improvement in water and mud management outweigh the hassle of installation.
I purchased fenders from Velo Orange. I wanted the longest fenders available in a 35-37mm width, which was the limit of my brake calipers, fork and seat stays. I had the minimum clearance above my tire recommended by Velo Orange; 9-10mm. The problem is that VO’s minimum is an absolute minimum and doesn’t necessarily apply to their standard installation kit.
Let’s start with the front fender. VO ships fenders with a daruma bolt to mount the front. It (theoretically) slides up through the fork crown and over the front brake mounting bolt. After clearing the crud out of the hole in my fork crown the daruma bolt still would not fit. I ended up pulling the stem and dropping the bolt down through the steerer tube.
OK. So when the daruma bolt is properly installed on the brake mounting bolt it hangs about 13mm below the bottom of the fork crown … so much for 10mm clearance.
I cut down the daruma bolt about 5mm. So now I’m back to 8mm intruding into my 10mm clearance. But you’re still supposed to get a metal washer, thick rubber washer, fender, metal/leather washer, and nut onto that bolt. I replaced the thick rubber washer with a thin one, eliminated the other two washers and ground about 4mm off the thickness of the nut. With everything in place the nut sits flush with the end of the bolt. The nut has a greater diameter than the bolt (of course) so it effectively extends farther down. Which leaves about 1mm of clearance between my tire and the daruma bolt/nut.
With a sliding bracket and Sheldon’s fender nuts to mount the rear fender I thought it would be a breeze. The 36mm fenders are supposed to accommodate tires up to 27mm width. My tires are 25mm … should be lots of room. In actuality the sliding bracket significantly reduces the range of vertical adjustment and the available width of the fender. Unless it is perfectly centered my tire rubs on one side or another.
I expected to have a problem because I have no chainstay bridge, but the fender is very solid in that area without any attachment. I just need a piece of thick plastic tape to prevent any problems from occuring where the fender touches the front derailleur mount.
So I finally got these things on with no rubbing. I am not going to spend more time worrying about perfect fender line. I haven’t trimmed the fender stays yet. I’ll wait until I’ve accumulated some miles and am sure the length is ok. And I’m still planning to add a Planet Bike mud flap on the back. I have some worries about the tiny clearances between my tires and the nuts protruding into the under-fender space and what will happen if there if a little sand or mud on my tire. I’ll let you know how it goes.


